
Last updated October 15, 2026
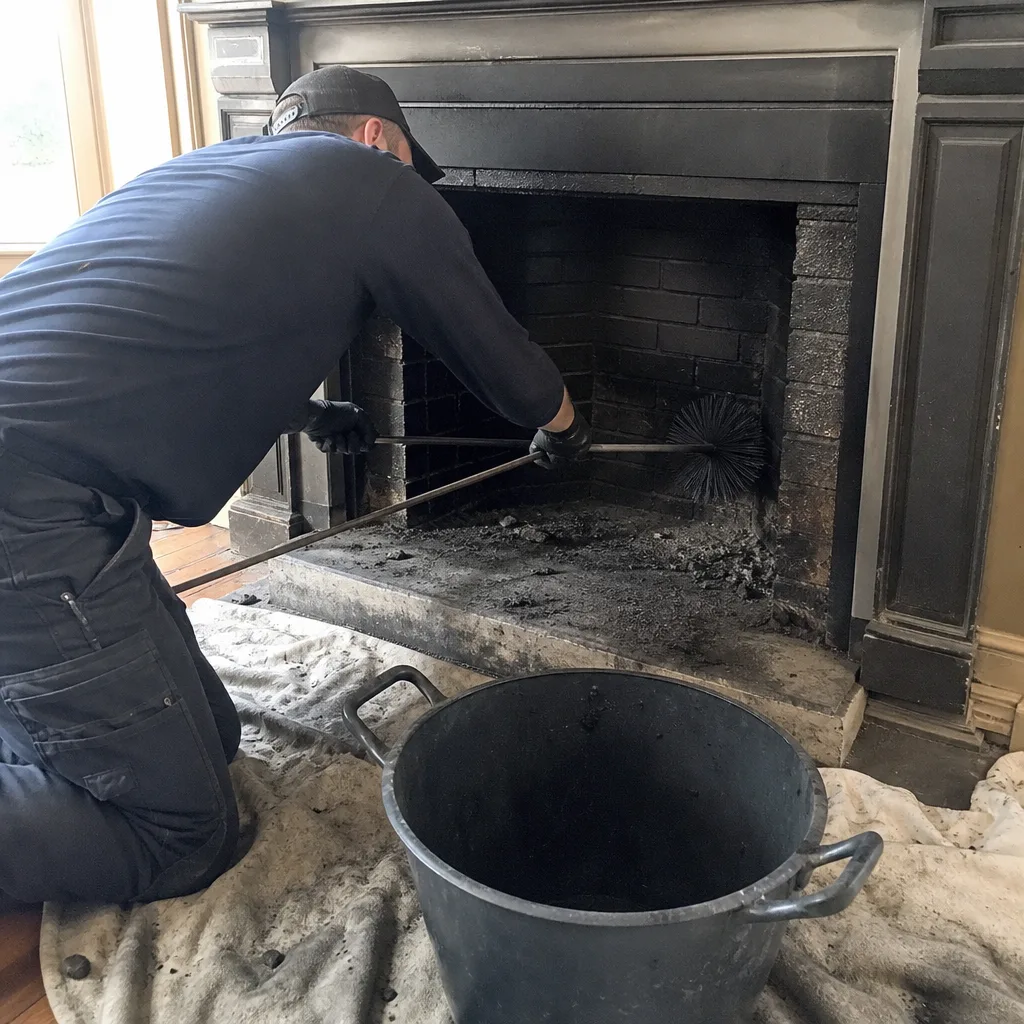
 Sweep & inspection
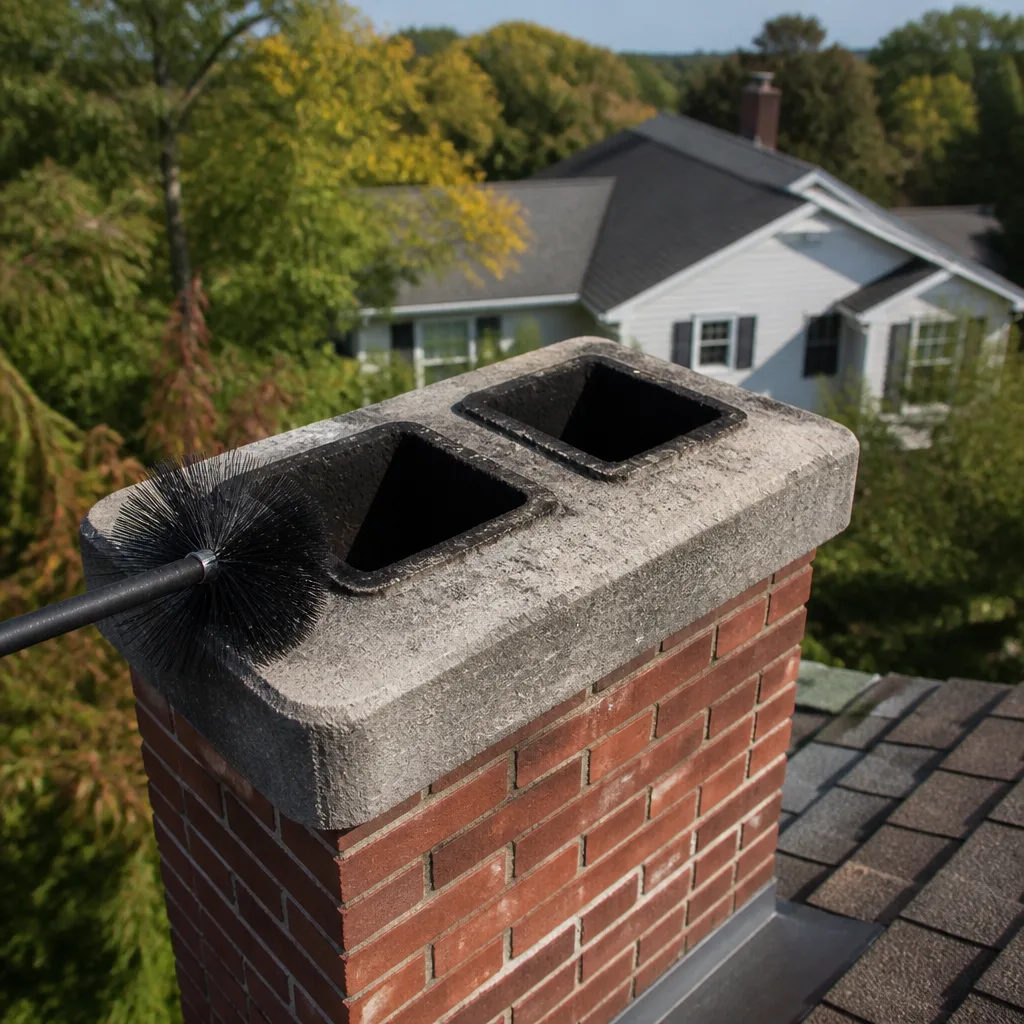
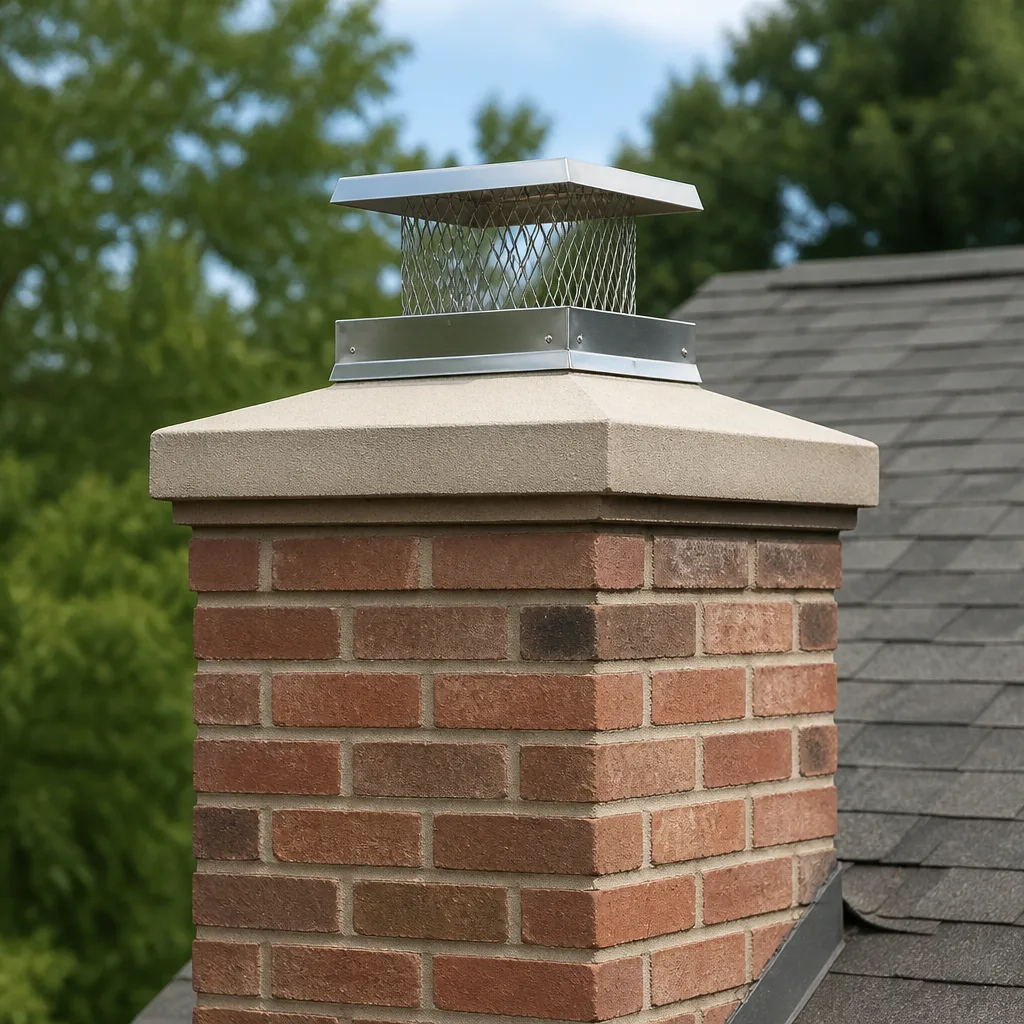 Caps & crowns
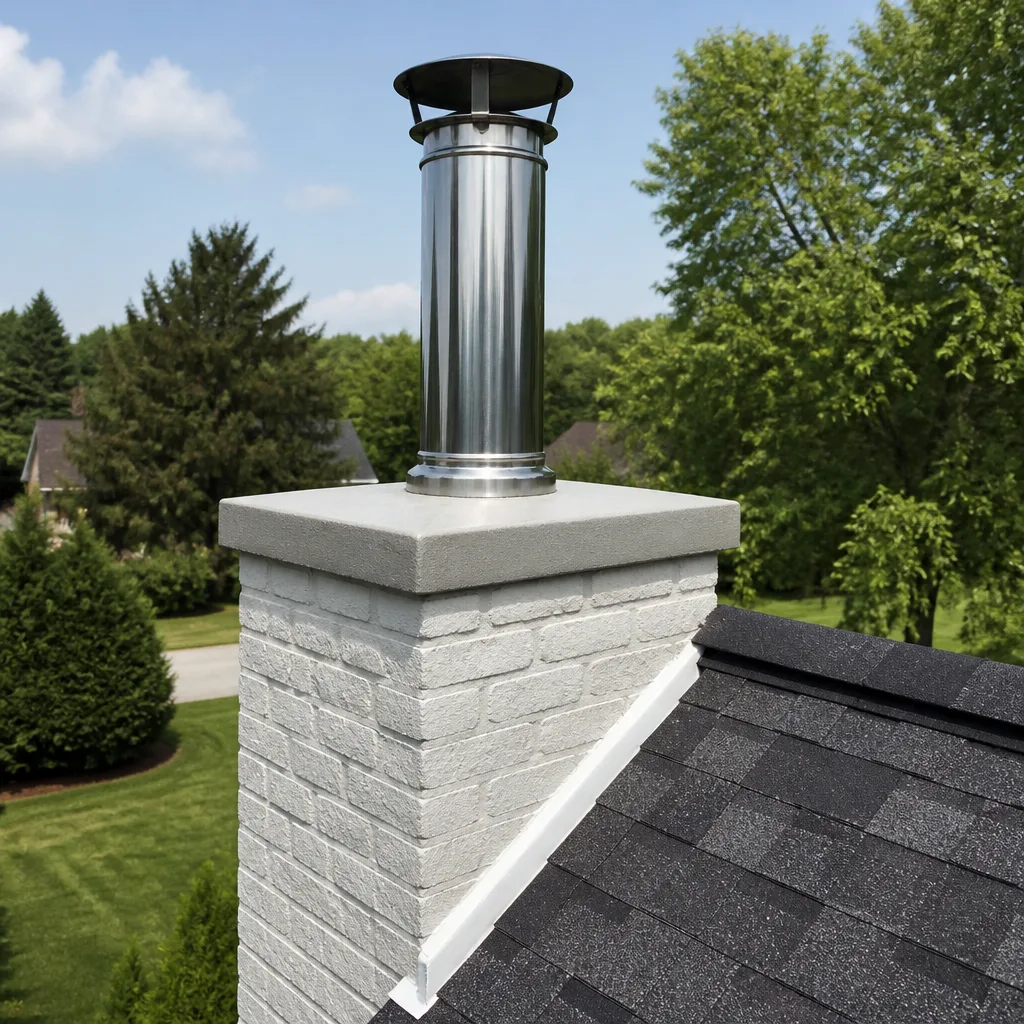 Flue relining
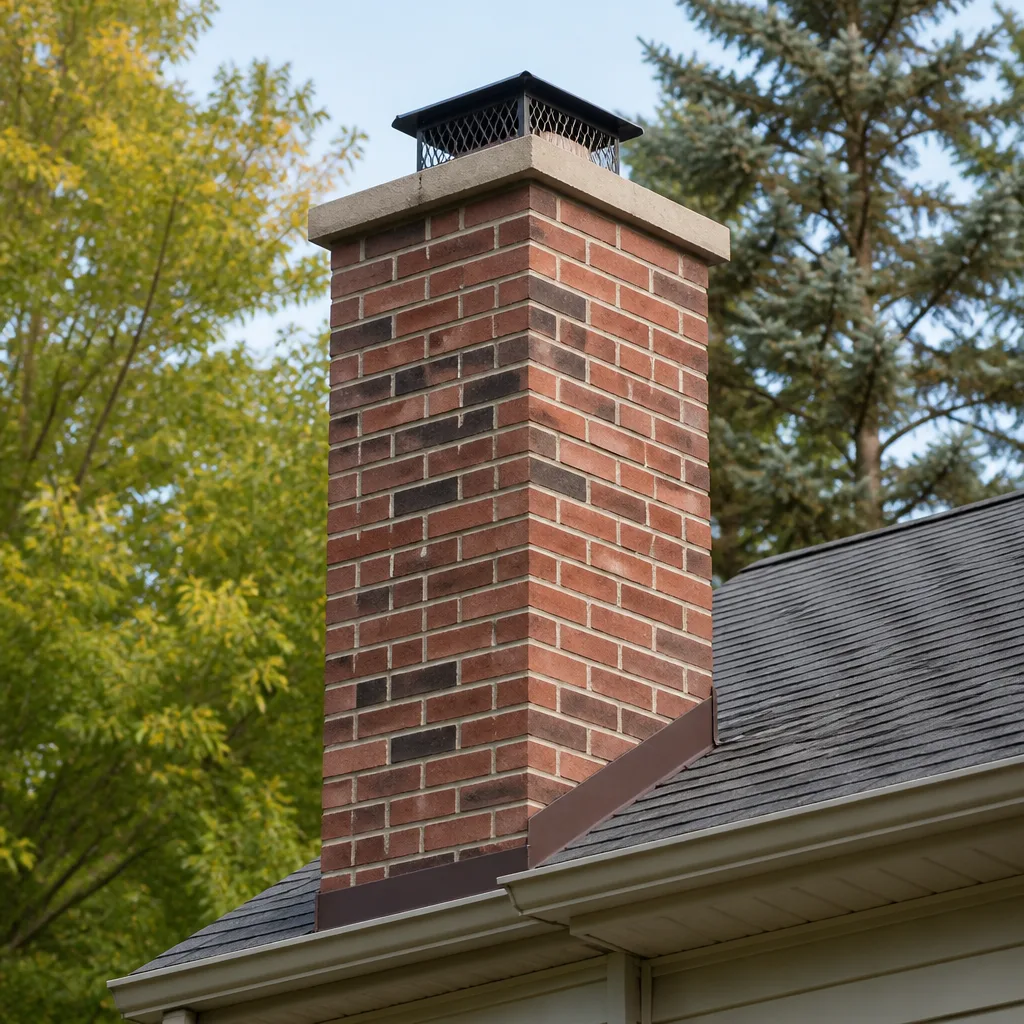 Masonry repair
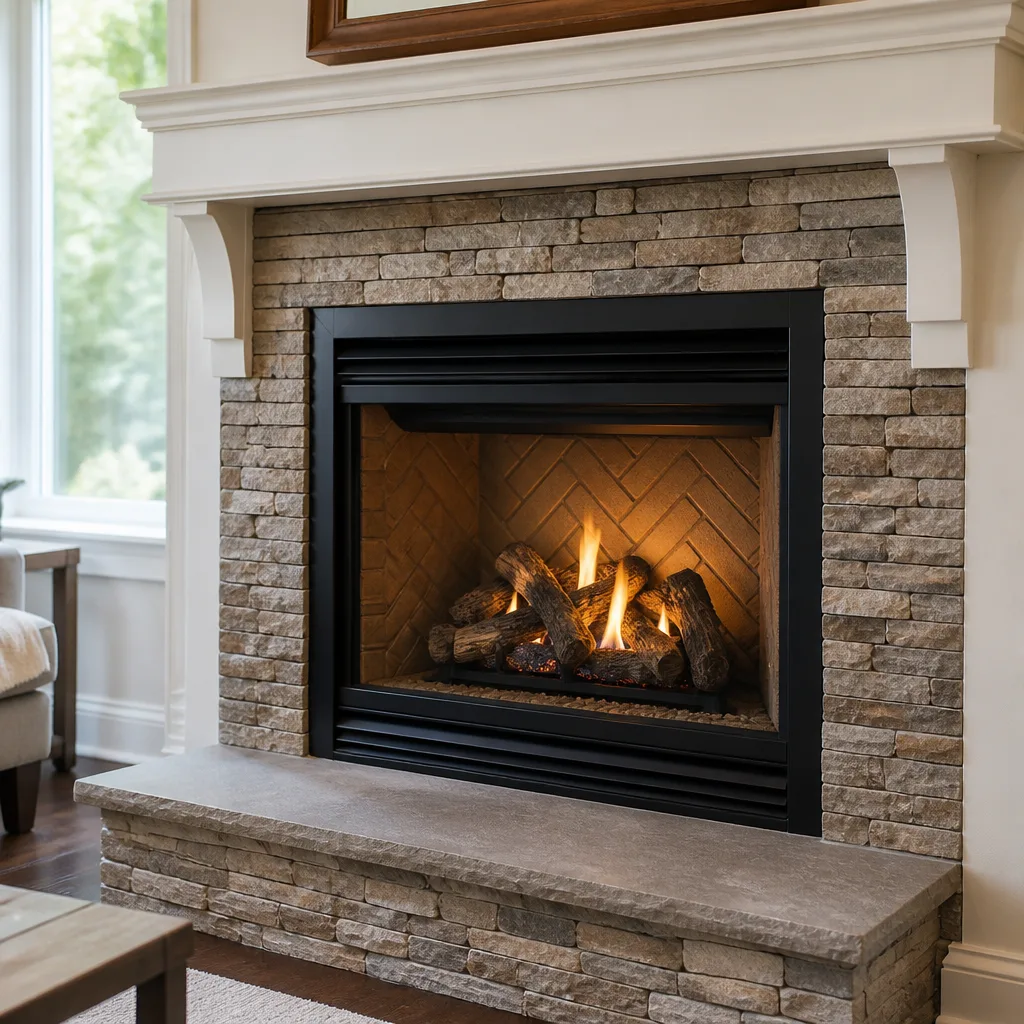 Gas fireplace service
Level 1 sweep and inspection to the NFPA 211 annual standard - flue, crown, cap, and flashing checked and photographed
Chimney sweep logs do not sweep chimneys. They loosen some creosote - which then falls where a brush and vacuum still have to collect it.
Chimney Sweep Maintenance Checklist for Queens Homeowners
Here’s a fact most chimney checklists won’t tell you: a Queens homeowner can follow every standard maintenance step to the letter and still end up with a failing flue. That’s because the generic checklists circulating online were written for detached suburban houses with pitched roofs and single-occupancy attics. Your 1940s brick rowhouse in Woodhaven, your semi-attached Tudor in Bayside, your converted oil-to-gas setup in Astoria – these have failure points that a boilerplate list never addresses. This guide is built around what Queens chimneys actually look like, how they’re used, and the specific ways they break. For a broader overview of professional services, see our Chimney Sweep page. By the end, you’ll know what to check yourself with a flashlight, what to photograph for your records, and exactly when to pick up the phone.
Styles & brands we work with
Quick Answer
A Queens chimney maintenance checklist should cover five areas: visual inspection of the flue interior and firebox, exterior mortar and crown condition, cap and damper function, gas-appliance venting verification, and an annual professional sweep. Because Queens has dense attached housing, older brick construction, rooftop HVAC traffic, and thousands of oil-to-gas conversions, your checklist must also include checking for rooftop mortar damage from foot traffic and confirming any converted flue was properly relined. A standard sweep in Queens runs $200 to $380 before repairs, and the full checklist takes about 30 minutes of DIY inspection plus one professional visit per year. For more guides & resources, explore our blog.
Table of Contents
- The Queens-Specific Failure Points Most Checklists Skip
- Interior Checklist: What to Check With a Flashlight
- Exterior Checklist: Rooftop Mortar and the HVAC Traffic Problem
- Gas Conversion Checklist: The Telltale Signs of a Missed Reline
- Season-by-Season Maintenance Schedule for Queens Homes
- Documentation: Building an Annual Chimney Baseline
- What a Professional Sweep Actually Checks
- Common Mistakes to Avoid
- When to Call a Professional
- Frequently Asked Questions
- The Bottom Line
The Queens-Specific Failure Points Most Checklists Skip
Before we get into the room-by-room list, let’s name the three things that make Queens chimneys different from what most online checklists assume. If you understand these, the rest of the checklist makes sense as a coherent system rather than a random list of tasks.
First, Queens has the highest concentration of attached and semi-attached housing in New York City outside Manhattan. That means your chimney often shares a party wall with the house next door. When a neighbor’s chimney has a liner failure or a deteriorated crown, water and creosote damage don’t respect property lines. The shared masonry absorbs moisture from both sides. We see this regularly in neighborhoods like Ridgewood, Glendale, and Woodhaven, where rowhouses were built in clusters between 1900 and 1950 with shared chimney stacks.
Second, Queens rooftops are work zones. Flat roofs and low-slope roofs dominate the borough’s housing stock, and those roofs host HVAC condensing units, satellite dishes, solar panels, and the technicians who service them. Every service visit means boots walking across your roof membrane, and too often those boots step on or around the chimney chase. Cracked masonry at the roofline, displaced flashing, and damaged crowns are frequently the work of repeated foot traffic, not weather. Your checklist needs to assume your chimney has been stepped on, leaned on, or laddered against.
Third, tens of thousands of Queens homes converted from heating oil to natural gas between 1980 and 2015. In many of those conversions, the existing flue was reused without proper relining. Gas exhaust produces acidic condensation that corrodes old clay tile mortar from the inside out. The result is a flue that looks fine from the roof but is actively spalling into the walls. This is the single most dangerous hidden condition in Queens chimneys, and standard checklists from other regions never mention it.
If you have a home in Queens, your maintenance reality is shaped by these three factors. The checklist below addresses all of them directly.
Interior Checklist: What to Check With a Flashlight
This is the part of the checklist you can do yourself, right now, with a bright flashlight and about 20 minutes. It’s a visual confirmation, not a professional inspection, but it will catch many problems early enough to keep repair costs reasonable.
Start at the firebox if you have a working fireplace. Open the damper fully and shine your flashlight up into the flue. You’re looking for three things:
- Creosote buildup. Creosote is the tar-like residue that condenses from wood smoke. In its early stages it looks like brown or black dust. In its dangerous stage it looks like shiny, hardened tar or crispy flakes. If you see more than 1/8 inch of buildup anywhere, schedule a sweep. In Queens homes with smaller flues common to attached rowhouses, even a quarter-inch of creosote creates enough restriction to affect draft.
- Flaking or crumbling flue tile. Point the light at the flue walls. You’re looking for spots where the clay tile surface has spalled, meaning thin flakes of the tile face have popped off. If you see debris accumulating at the smoke shelf, or pieces of tile that look like broken terracotta pot shards, that’s a liner failure in progress.
- White staining or efflorescence. White, chalky deposits on the inside of the chimney indicate moisture intrusion. Water is getting in somewhere, and it’s carrying mineral salts through the brick. In Queens, where winter freeze-thaw cycles are concrete and relentless, moisture inside masonry is a countdown to spalling brick faces on the exterior.
Next, run your hand along the damper assembly. Does it open and close fully? Does the handle feel loose or corroded? A damper that doesn’t seal properly when closed means you’re losing conditioned air up the chimney all year round, and in a Queens winter that’s real money out the top of the house.
Finally, check the smoke chamber if you can see it from below. This is the sloped transition area between the firebox and the flue proper. In many older Queens homes, particularly pre-1940 construction, smoke chambers were never parged with a smooth refractory surface. The corbeled brick steps create dead pockets where creosote accumulates and where heat concentrates unevenly. If you see rough, stepped brickwork here, mention it when you book your Chimney Sweep in Queens.
If you have gas appliances venting into the chimney and no fireplace, skip the firebox check and go straight to the next section on gas conversion signs.
Exterior Checklist: Rooftop Mortar and the HVAC Traffic Problem
This is the section that general checklists get wrong for Queens. Most guides say “check the mortar joints for cracks” and move on. But your mortar joints in Queens are not deteriorating from weather alone. They’re deteriorating because people walk on your roof.
Here’s the scenario we see over and over. A homeowner has a central air system installed on a flat roof or a low attic roof. The HVAC crew runs the refrigerant lines, mounts the condenser, and leaves. Then a satellite installer comes. Then a roofer patches a spot. Each visit puts sandals, work boots, and ladder feet within a few feet of the chimney. One misplaced step onto a corner of the crown, one ladder leaned hard against the brick, one tool dropped onto the flashing, and you’ve got the beginning of a mortar failure that no weather station will explain.
Your exterior checklist, done from the ground with binoculars or from a safe upper window, should look like this:
- Check the crown first. The crown is the concrete or mortar cap on top of the chimney. Look for hairline cracks running in any direction. In Queens, the freeze-thaw cycle turns hairline cracks into open fissures within two winters. If you can see a crack from the ground with binoculars, it’s already letting water in.
- Look at the mortar joints at the roofline. Run your eyes along the horizontal and vertical joints where the chimney meets the roof. This is the exact height where ladders lean and boots land. Look for missing mortar, displaced bricks, or joints that look darker than the surrounding masonry. Dark joints mean moisture saturation.
- Inspect the flashing. Flashing is the metal material sealed around the base of the chimney where it meets the roof. On Queens row houses, old flashing is often galvanized steel that’s been painted over repeatedly. Look for rust streaks, lifted edges, or visible sealant patches. In semi-attached homes in neighborhoods like Forest Hills or Kew Gardens, flashing failure is the most common source of ceiling water stains in the top-floor bedrooms adjacent to the chimney.
- Note any bricks that protrude or look pressed-in. Impact damage puts visible compression marks in brick faces. It looks like a shallow dent or a half-moon chip. Clusters of these near the roof level confirm the foot traffic theory.
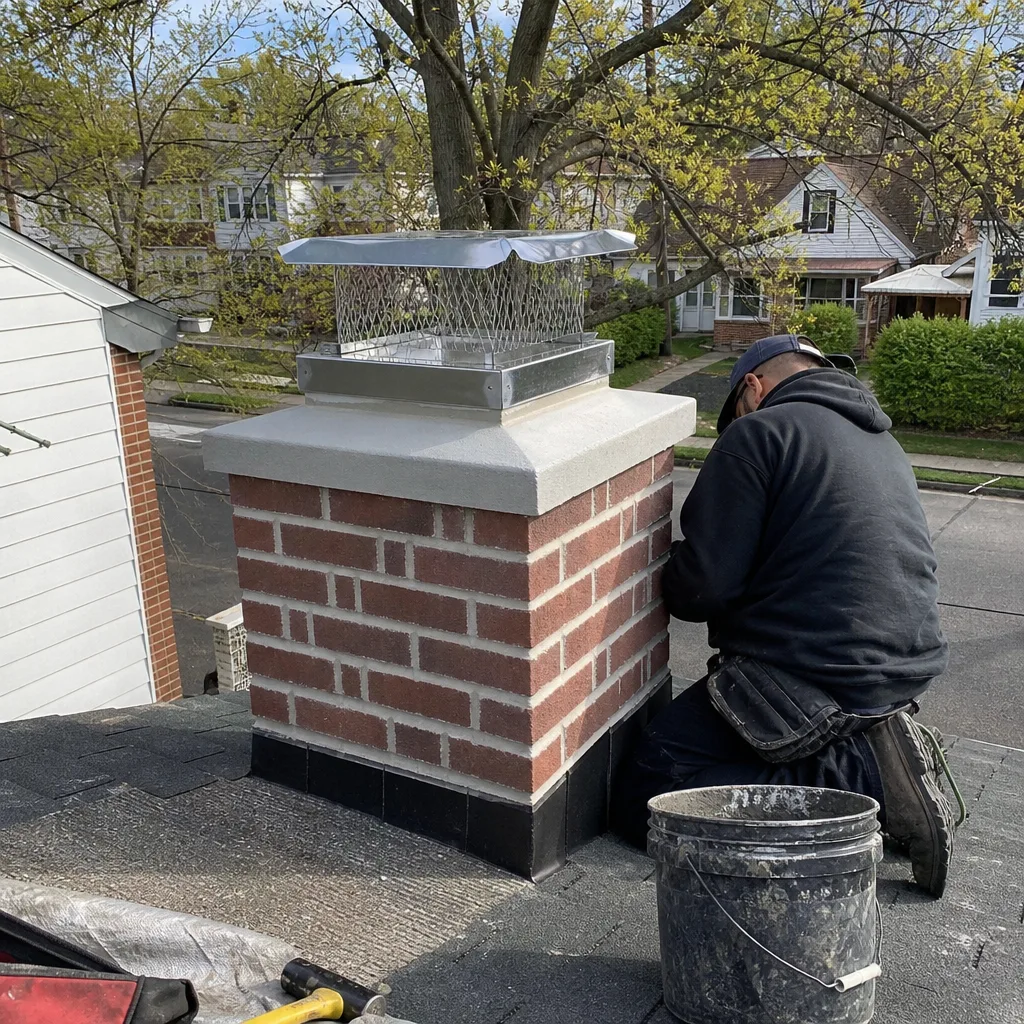
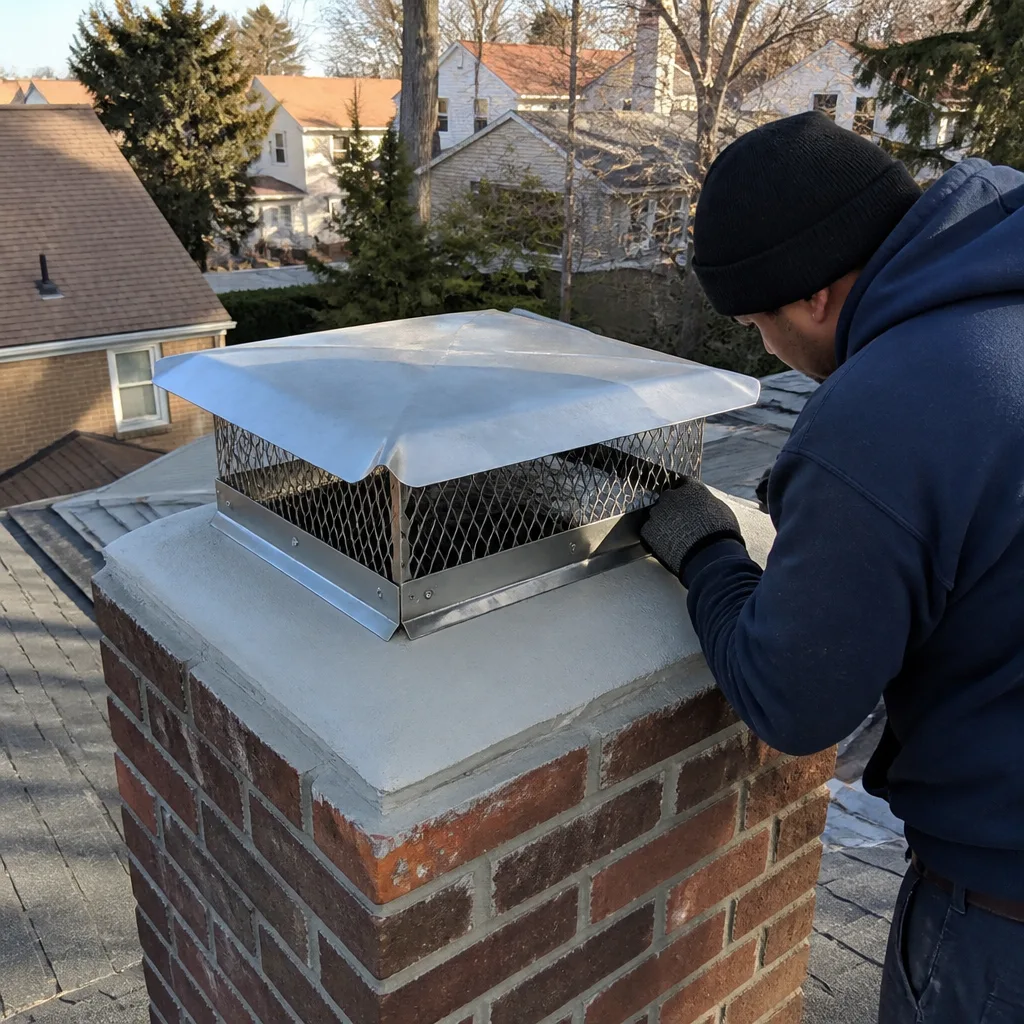
- Check the chimney cap. Is it present? Is it level? A missing or tilted cap in Queens means rain, leaves, and the occasional starling getting into your flue. If you don’t have a cap, add one to the professional work list.
Photograph everything. We’ll talk about documentation in a section below, but the short version is: your phone camera is the best diagnostic tool you own.
Gas Conversion Checklist: The Telltale Signs of a Missed Reline
If your Queens home was built before 1975 and now heats with natural gas, there is a meaningful chance your flue was never properly relined for gas exhaust. This isn’t a knock on the contractors who did the conversion. For decades, New York building code guidance on reuse of existing masonry flues for gas venting was looser than it is today, and many conversions were done quickly and cheaply. The result is a widespread inventory of older Queens homes venting acidic gas exhaust through unlined or improperly lined masonry.
Here’s what to look for. Some of these you can check yourself. Others require a professional inspection camera.
- White, chalky residue on the exterior brick near the flue. Gas exhaust contains water vapor and traces of sulfuric and nitric acid. When that condenses inside an unlined flue, the acid eats the mortar from the inside and the dissolved salts migrate outward. You see it as white bloom on the outside of the chimney, concentrated near the top third. If you see this and you have gas heat, call for an inspection.
- Interior staining or peeling paint on walls adjacent to the chimney. Acidic condensation can seep through porous masonry and hit the interior wall surface. This shows up as tan or brown staining, or paint that is peeling in an area directly against the chimney run, not near windows or plumbing.
- A sulfur or “rotten egg” odor in the attic or upper floor near the chimney. Natural gas has an added odorant called mercaptan. If you smell it, the venting is not drafting properly and combustion gases are backing up. This is a same-day call, not a calendar item.
- Flue tile fragments in the cleanout. If you have a cleanout door at the base of the chimney in the basement, open it and look at what’s inside. Crumbling terracotta pieces or loose mortar sand at the bottom of the cleanout means the original clay liner is slowly breaking apart. Gas conversion accelerates this process dramatically.
The fix for a compromised gas flue is typically a professional reline with a stainless steel liner system, often one of the trade brands we work with regularly like DuraFlex or Olympia Chimney. These are continuously welded or interlocking stainless systems sized precisely for gas appliance draft requirements. The alternative is a HeatShield resurfacing application where the existing flue is structurally adequate for a new ceramic coating. The right choice depends on the flue dimensions and the appliance’s BTU output, which is why this is a technician’s call, not a homeowner’s.
One more thing specific to Queens: if your neighborhood still has a meaningful number of original oil-era chimneys, your neighbors likely have the same issue. The condition is not rare in neighborhoods like Maspeth, Middle Village, and Woodhaven. It’s common enough that any half-decent Chimney Inspection in Queens should include a camera run through the flue as standard, not as an add-on.
Season-by-Season Maintenance Schedule for Queens Homes
Here is a season-by-season schedule built around how Queens homeowners actually use their fireplaces and heating systems. This assumes a single-story or two-story attached or semi-attached home. Adjust by a month if your neighborhood has tree cover that delays spring drying.
Fall: September through October
This is the most important season for chimney maintenance in Queens, and the reason is simple: this is when every sweep company in the borough books solid for six to eight weeks. Schedule your annual sweep in early September to avoid the October rush. Before the sweep arrives, do your interior flashlight checklist and photograph anything questionable. If you use a wood-burning fireplace as a heat source, have at least half a cord of seasoned hardwood delivered by late September. Green firewood produces more creosote per burn than any other factor. If you have a gas fireplace, this is the season to test the ignition and check for burner flame color. A blue flame is correct. A mostly yellow, lazy flame means the burner ports are dirty or the vent is not drafting properly.
Winter: November through February
During burn season, keep a simple log of how the fire behaves. Does the room smell like smoke when the fire is lit? Does the fire struggle to stay lit when the temperature drops below freezing? Does the damper feel sticky when you open or close it? Each of these is a diagnostic clue. In Queens winters, a common issue is downdrafts caused by tall nearby buildings or trees interfering with wind patterns over the chimney. If you notice the fire behaves differently on windy days, that’s a cap or height issue, not a liner issue. Note it for the spring.
Spring: March through April
After the last frost, schedule any repairs identified in the fall sweep that were deferred. Spring is when Queens masons and chimney technicians do their best exterior work because the weather cooperates with mortar curing. Check the exterior of the chimney for any new damage from winter ice. Freeze-thaw cycles in Queens can take a hairline crack to a visible gap in one season. If you burn wood, this is also a good time to have the firebox and damper evaluated for the next season’s readiness while the memory of winter’s fires is still fresh.
Summer: May through August
In July and August, you can often schedule the annual sweep at a quieter time and at the same price, with more appointment flexibility. Summer is also the season when most HVAC and roofing work happens in Queens, which means it’s the season when most rooftop traffic damage occurs. If you have a new central air system installed or any roof work done, plan to do a photographic exterior checklist of the chimney afterward. Compare the photos to your baseline from the previous check. If something changed, you’ll see it immediately.
Documentation: Building an Annual Chimney Baseline
Homeowners who maintain a photographic baseline of their chimney’s condition are the ones who catch problems early, and they’re also the ones who win disputes with contractors. This is a practical, five-minute habit that pays off in ways that are not obvious until you need them.
Here’s the system. Once a year, ideally at the same time each year, take the following set of photos:
- Exterior shots from all four sides. If your chimney is on a shared party wall, photograph what you can see from the street and from windows. Use binoculars or a camera with a zoom lens for the crown and cap area.
- A close-up of the crown. Even a blurry zoom photo will show a missing cap or a major crack that your eye might not resolve from the ground.
- A close-up of the flashing. Get the roofline junction where the chimney meets the roofing material. This is the most common water intrusion point in Queens.
- The interior firebox and flue opening. Use your flashlight and take the best photo you can get up into the flue. It doesn’t have to be pretty. It just has to be consistent year to year.
- Any area you already suspect. If you flagged a concern last season, photograph it from the same angle this season.
Store these in a folder on your phone or computer labeled with the date. The value of this habit is twofold. First, your eye starts to recognize what your chimney usually looks like, which means anomalies stand out. A displaced brick or a new rust streak is obvious when you have prior photos to compare against. Second, if you ever have work done and a contractor’s work seems faulty, or if a roofer or HVAC crew damages the chimney and denies it, you have dated photographic evidence that shows the condition before and after. This is not theoretical. We have seen homeowners in Queens successfully hold roofers and HVAC companies accountable because they had a clear before photo showing an intact crown before a summer installation.
The documentation habit is also useful when you call us. We can’t see what you’re describing over the phone, but we can look at a photo set and tell you whether the issue looks urgent or routine. That saves you a truck roll if the answer is “keep an eye on it” and gets you prioritized correctly if it isn’t.
What a Professional Sweep Actually Checks
There’s a difference between maintenance you can do from the ground and what a credentialed sweep does on the roof and inside the flue. Understanding that difference will help you know whether you’re getting a real sweep or a symbolic one.
A real professional sweep in Queens does the following, at minimum:
- Camera inspection of the flue interior. This is the modern standard. A camera run through the flue shows liner cracks, missing mortar joints, trapped debris, and the condition of the tiles in a way that no amount of rooftop peering can reveal. At Alcott Chimney Queens, this is part of what we do, not an extra line item.
- Proper creosote mechanical removal. The sweep uses rotating wire brushes sized to the flue dimensions, not just a hand brush from the top. On third-stage creosote, which is the hardened tar form common in under-maintained flues, they use professional-grade rotary loop tools. This is why a $79 advertised special is usually not enough for a Queens chimney that hasn’t been swept in years.
- Chimney cap and damper evaluation. The sweep checks that the cap is secure and sized appropriately, and that the damper opens, closes, and seals. If you have a throat damper with a cracked cast iron frame, they should tell you exactly what it would cost to replace it.
- Masonry condition on the upper stack. From the roof, the sweep can see and feel mortar joint erosion, crown cracking, and brick spalling that aren’t visible from the ground. They should photograph these and show you what they found.
- Gas appliance venting check where applicable. If your gas furnace or water heater vents through the chimney, the sweep should check the draft pressure and look for signs of condensation, especially in an unlined or improperly lined flue.
The brands of liner and resurfacing products we use are the same ones specified by chimney professionals across the northeast: DuraFlex for stainless relining, HeatShield for ceramic resurfacing, and Olympia Chimney, Famco, and Copperfield for caps, dampers, and related components. These are the trade names we reach for because they hold up in a Queens climate with real freeze-thaw cycles and real rooftop traffic. Ask any company you’re considering what products they use. If they can’t name a professional trade brand, that’s a signal about the depth of their supply chain.
As part of our Alcott Chimney Queens home service standard, every sweep includes a written report with photos and a written price for any recommended repair work before anything is done. You should expect that from any company you hire in Queens.
Common Mistakes to Avoid
- Using a standard national checklist without adapting for attached housing. Queens rowhouses share chimney stacks and wall cavities with neighbors. Your maintenance plan needs to account for shared masonry and the possibility that a neighbor’s chimney issue becomes your water intrusion issue.
- Skipping the photographic baseline. Many Queens homeowners can’t easily see their own rooftop chimney from the ground, especially on attached properties where the chimney is in the middle of the roof line. A camera or binoculars plus an annual photo habit is the only reliable way to track changes.
- Assuming a gas conversion means the flue is fine. This is the most dangerous assumption on this list. If your home was converted from oil to gas and you don’t have documentation showing a stainless liner was installed during or after the conversion, assume the flue needs inspection. Acidic condensation destroys mortar from the inside, invisibly.
- Deferring a sweep because you “only burn occasionally.” Even occasional burning in a Queens rowhouse can leave enough creosote to ignite, and small flues common to older borough housing collect buildup faster than larger flues. Once a year is the floor, not the ceiling.
- Letting rooftop work happen without checking the chimney afterward. HVAC installs, roof repairs, and satellite dish mounts all involve people walking near your chimney. One impact can crack a crown or dislodge a piece of flashing. Always do your photographic exterior checklist after any rooftop work.
- Hiring a sweep who can’t or won’t show you the flue with a camera. In 2026, a professional chimney inspection means camera documentation. If a company in Queens sweeps your chimney and can’t show you photos of the liner condition, you didn’t get a full sweep. You got a brushing.
When to Call a Professional
Some chimney conditions are not DIY diagnostic territory. Call a professional sweep in Queens immediately if you smell gas or sulfur near the chimney or in the attic, if you see smoke backing up into the room while the fire is lit, if you hear falling debris inside the chimney when you’re not burning, or if you notice new water stains on ceilings or walls adjacent to the chimney run. These are the signs of active draft failure, liner collapse, or moisture intrusion that can cause structural damage behind the walls.
Alcott Chimney Queens offers free estimates throughout Queens, including Woodhaven, Bayside, Forest Hills, Astoria, Ridgewood, and the Rockaways. Call (518) 719-4643 to schedule a sweep or inspection, and you’ll get a written price before any work begins. No surprises, just a straight answer about what your chimney needs.
Frequently Asked Questions
Once a year at minimum, even if you burn less than a dozen fires per season. Queens homes with smaller flues common to attached rowhouses tend to collect creosote faster than larger flues, and an annual sweep is also the one reliable checkup for hidden issues like liner cracks and water intrusion. Call (518) 719-4643 and we’ll schedule your annual sweep at a time that works with your block’s parking and your calendar.
A standard chimney sweep in Queens typically runs $200 to $380 before any repairs, depending on flue size, roof access difficulty, and whether extensive creosote removal is required. At Alcott Chimney Queens, you’ll know the exact written price before any work starts, so there is no end-of-job surprise. Call (518) 719-4643 for a free estimate.
If your Queens home converted from oil to gas and the masonry flue was never relined, you may need a new liner, but not always. In many cases a HeatShield ceramic resurfacing application is sufficient to seal and protect the existing flue. The only way to know is a camera inspection that shows the current condition of the flue interior. That inspection is part of our standard service, and the repair recommendation comes with photos so you can see exactly what we’re seeing.
What happens is creosote accumulates, and creosote in sufficient quantity is the fuel for a chimney fire. A chimney fire’s temperatures can exceed 2,000 degrees Fahrenheit, which cracks flue tiles, warps dampers, and in attached Queens homes can transmit heat through shared masonry to the neighboring house. Skipping a sweep also means missing the slow failures: water intrusion through a cracked crown, acidic condensation in an unlined flue, and mortar deterioration that gets more expensive to repair every year you ignore it.
Yes, with an annual sweep, a functional damper and cap, and a flue that’s confirmed to be structurally intact. The main difference in a Queens attached home is that your chimney’s condition affects your neighbor and vice versa. Shared masonry means a liner issue on one side can cause moisture problems on the other. That’s another reason the annual camera inspection matters here more than it does in a detached suburban house.
At Alcott Chimney Queens, we tell you the technician’s name and show you their photo before they arrive. They wear a uniform, carry photo ID, and will show that badge at the door, every time, with no exceptions. This is the Threshold Standard, the vetting process we follow as part of the Threshold Group family. Background-checked and identity-verified, so the person you opened the door for is the person you were told to expect.
The Bottom Line
A chimney maintenance checklist for a Queens homeowner has to account for the realities of the borough: attached housing with shared masonry, rooftop traffic from multiple trades, older brick construction, and the hidden dangers of oil-to-gas conversions. Your job as the homeowner is to check the interior with a flashlight, check the exterior with binoculars and a camera, document everything annually, and book one professional sweep per year that includes a camera inspection. The rest is handled by a technician who does this work every day. If you’re in Queens and want a straight answer about your chimney’s condition, call Alcott Chimney Queens at (518) 719-4643. We’ll send someone whose name and face you’ll know before they ring the bell.
Written by Ruben Castellano, Owner at Alcott Chimney Queens, serving Queens since 2002.
See the difference
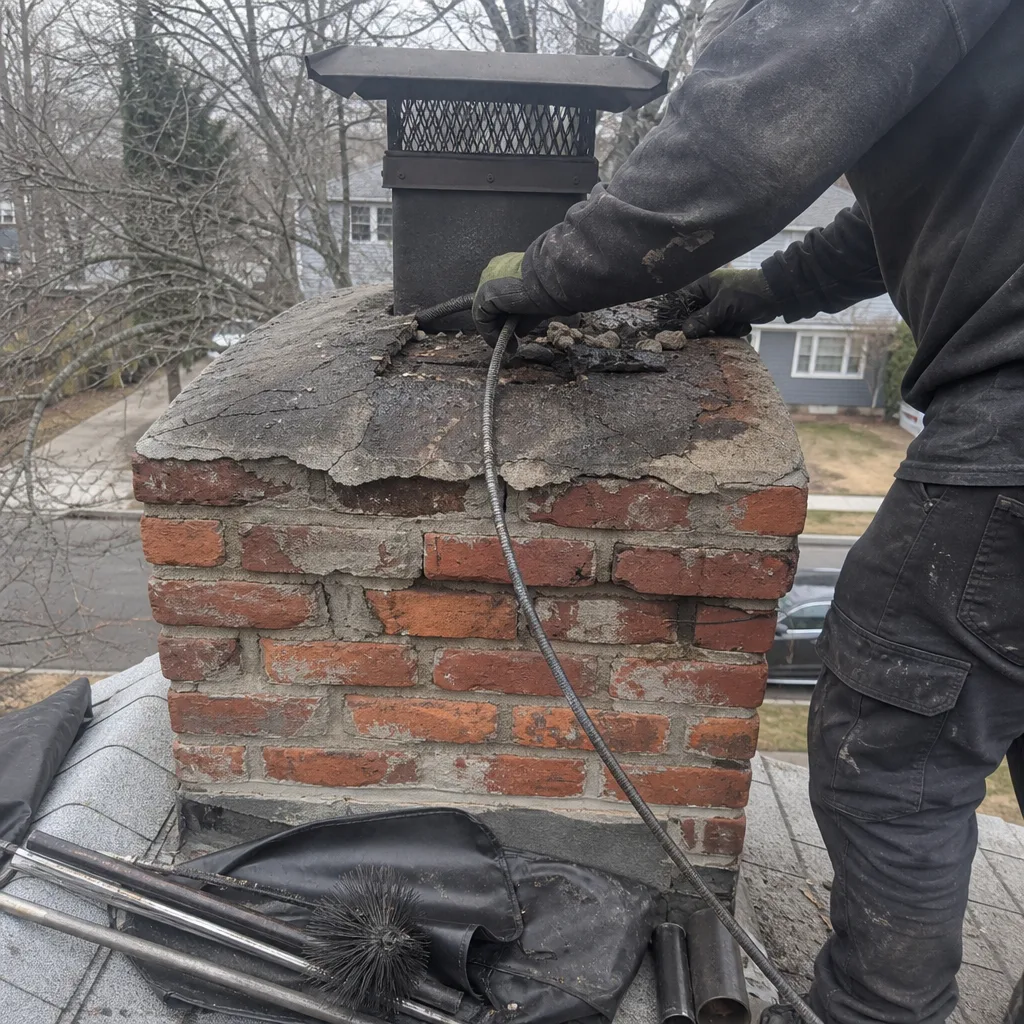 Before
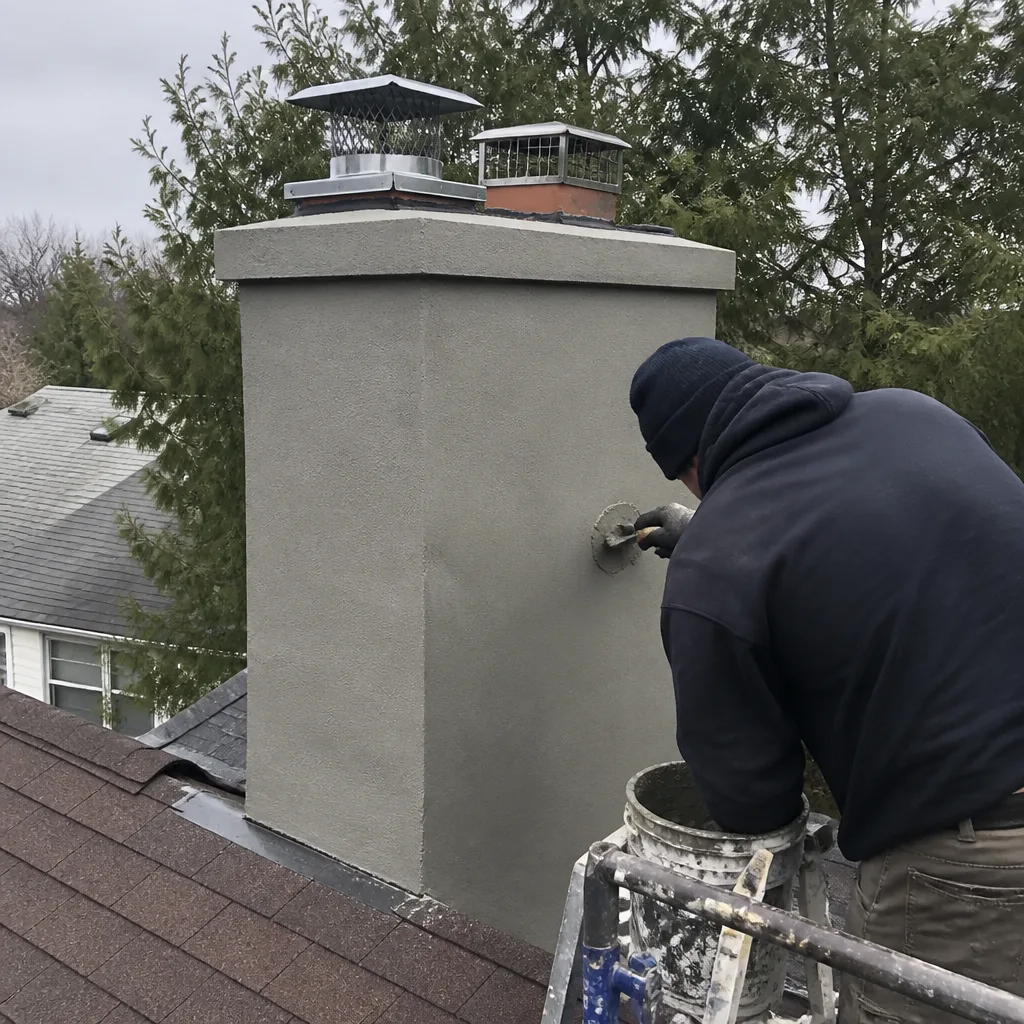 After
After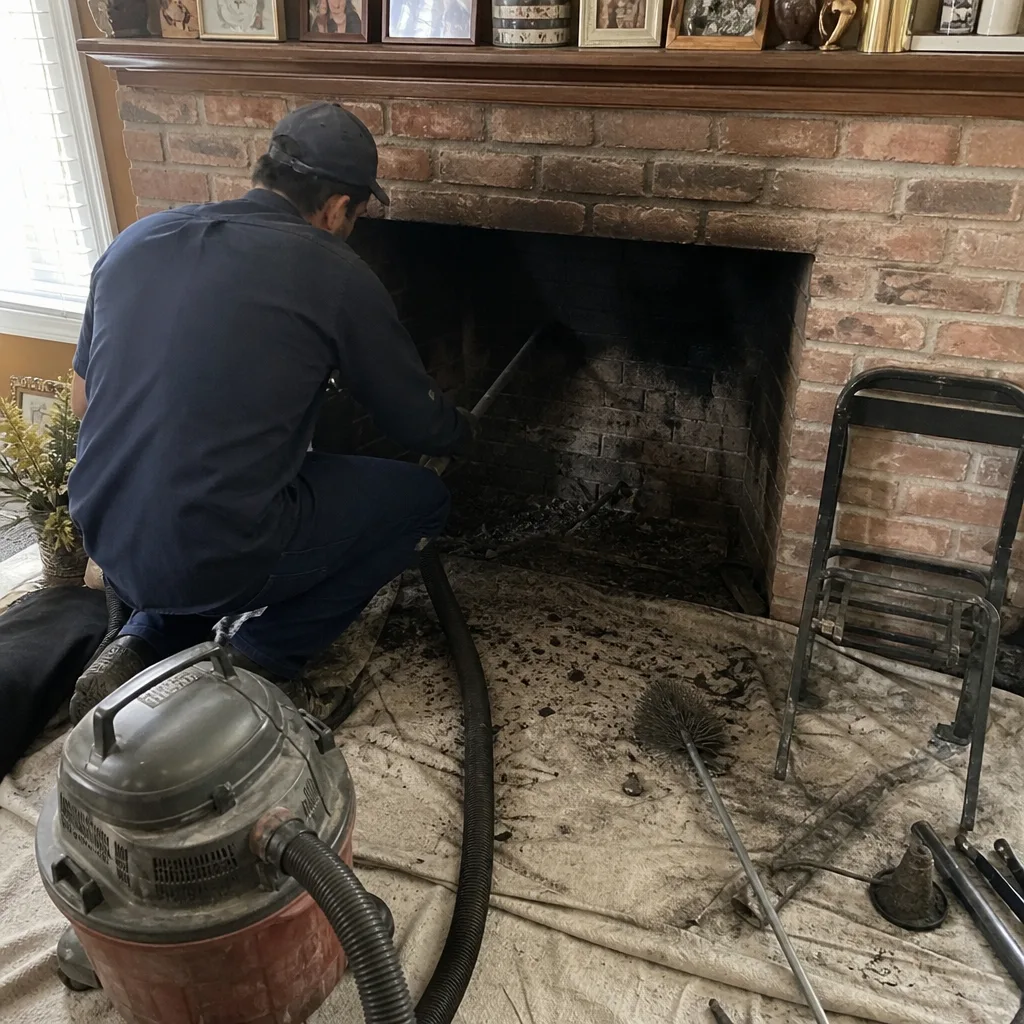 Before
 After
After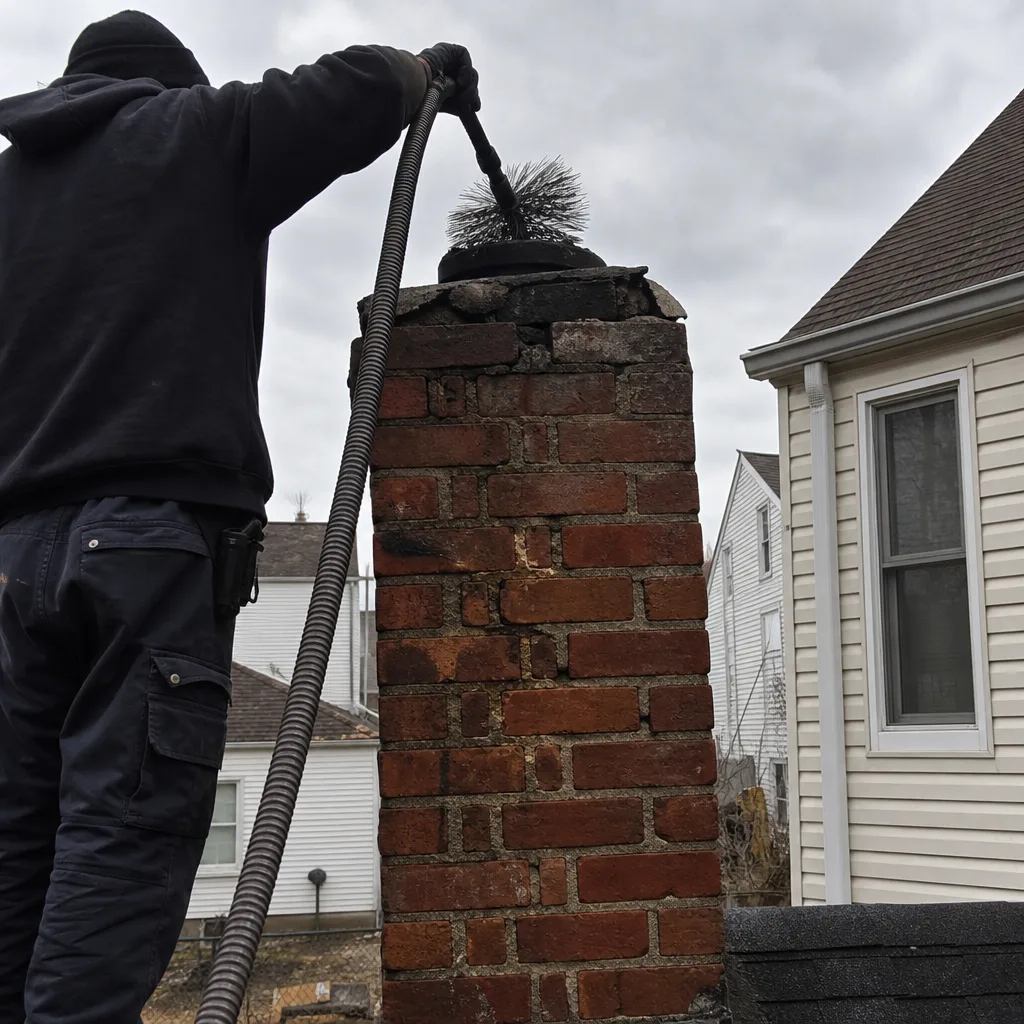 Before
 After
After