
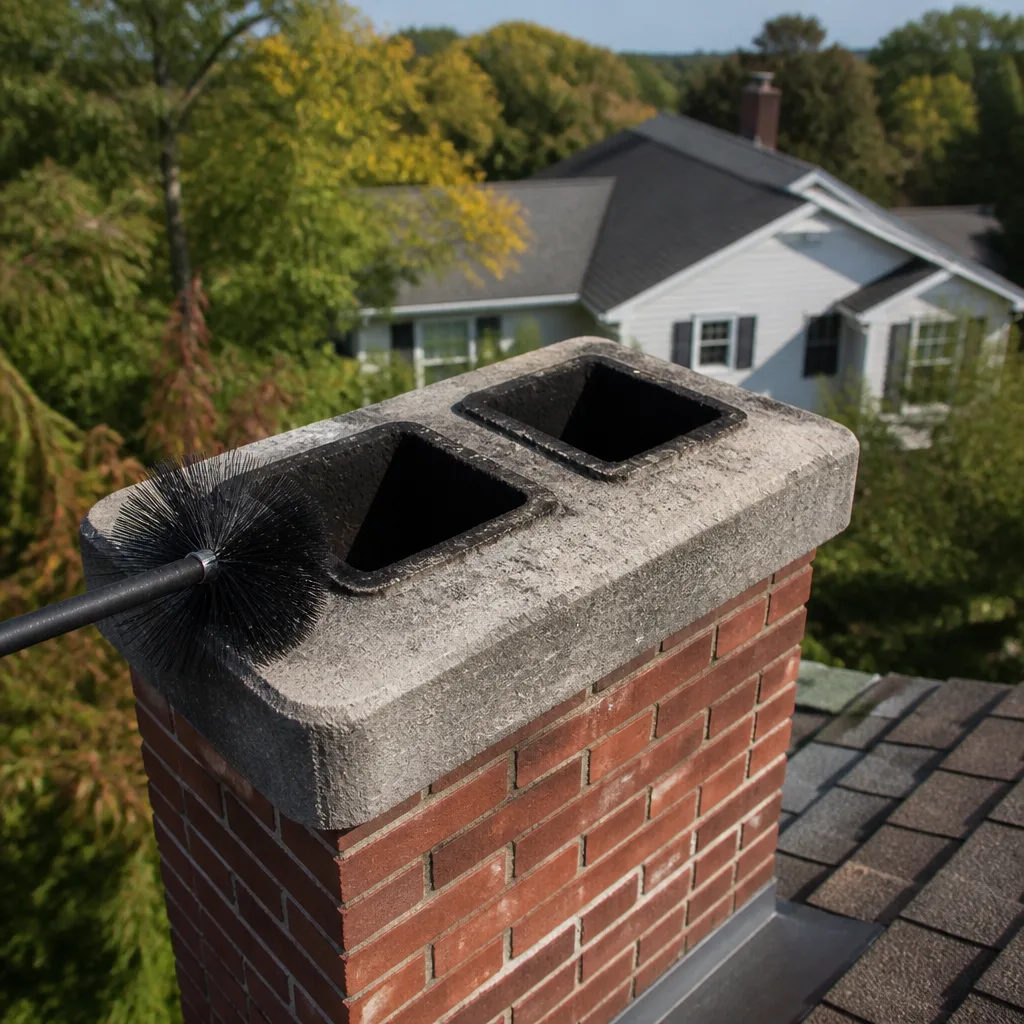
 Sweep & inspection
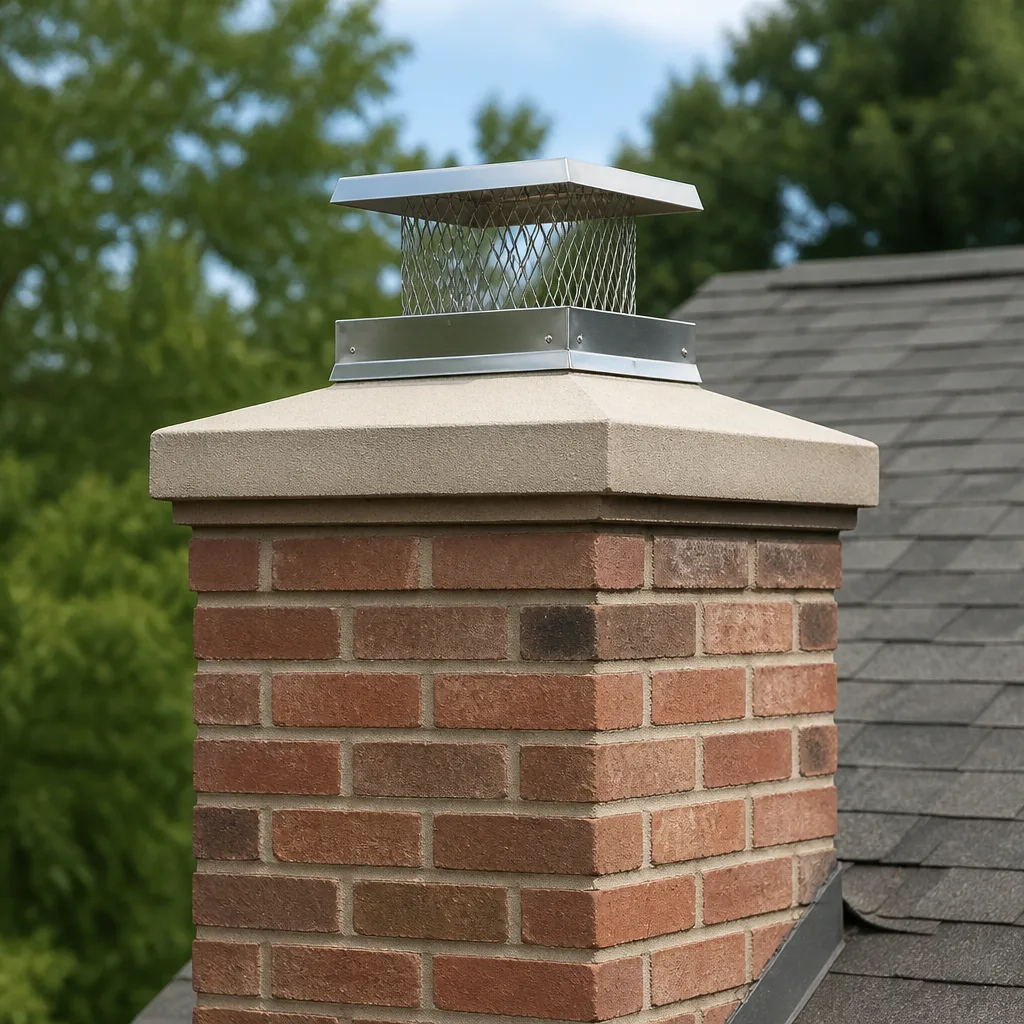 Caps & crowns
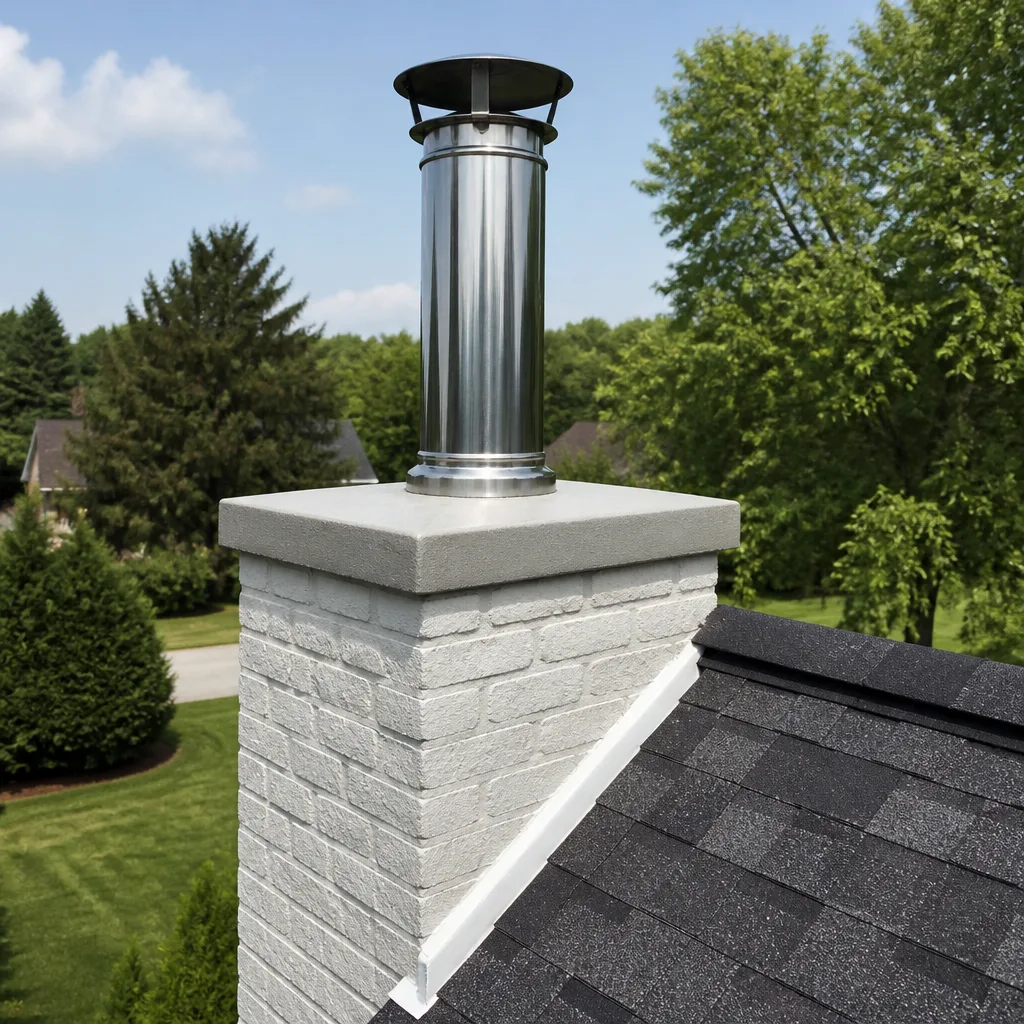 Flue relining
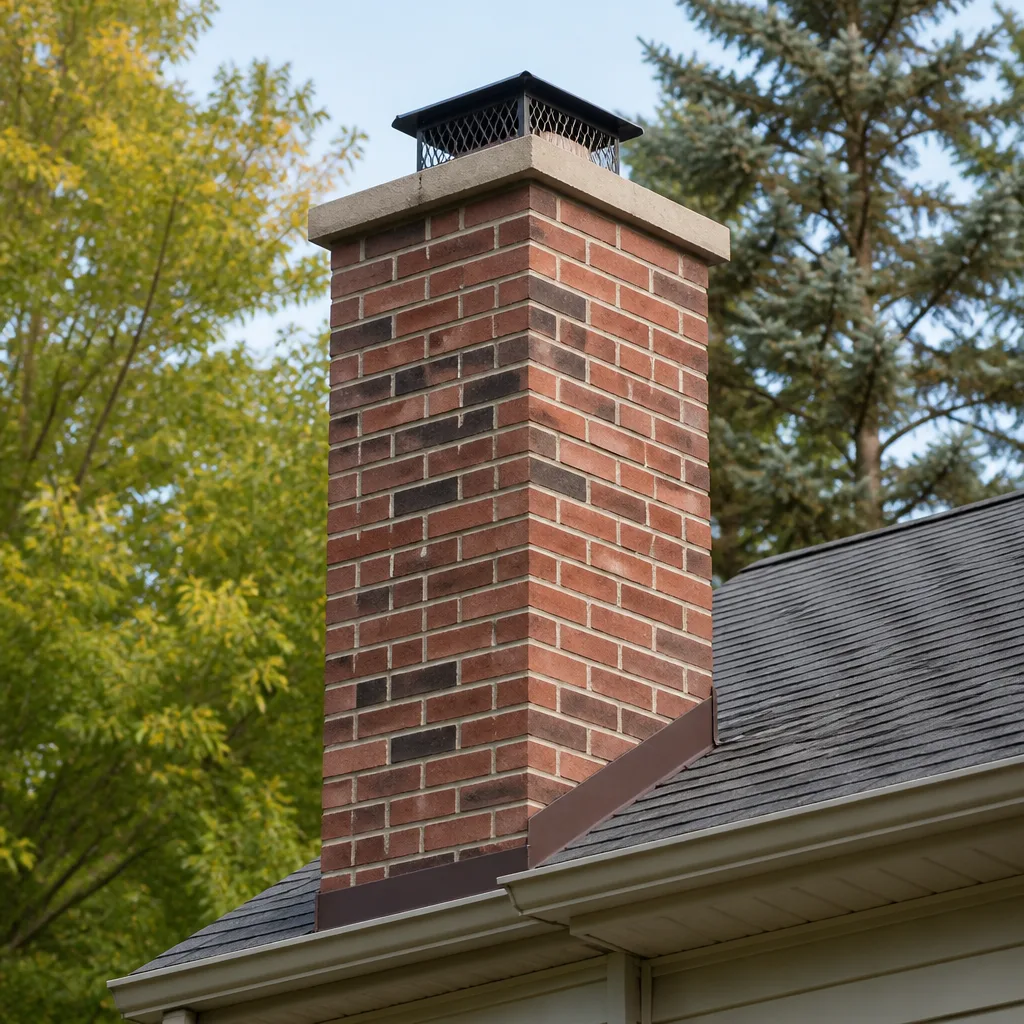 Masonry repair
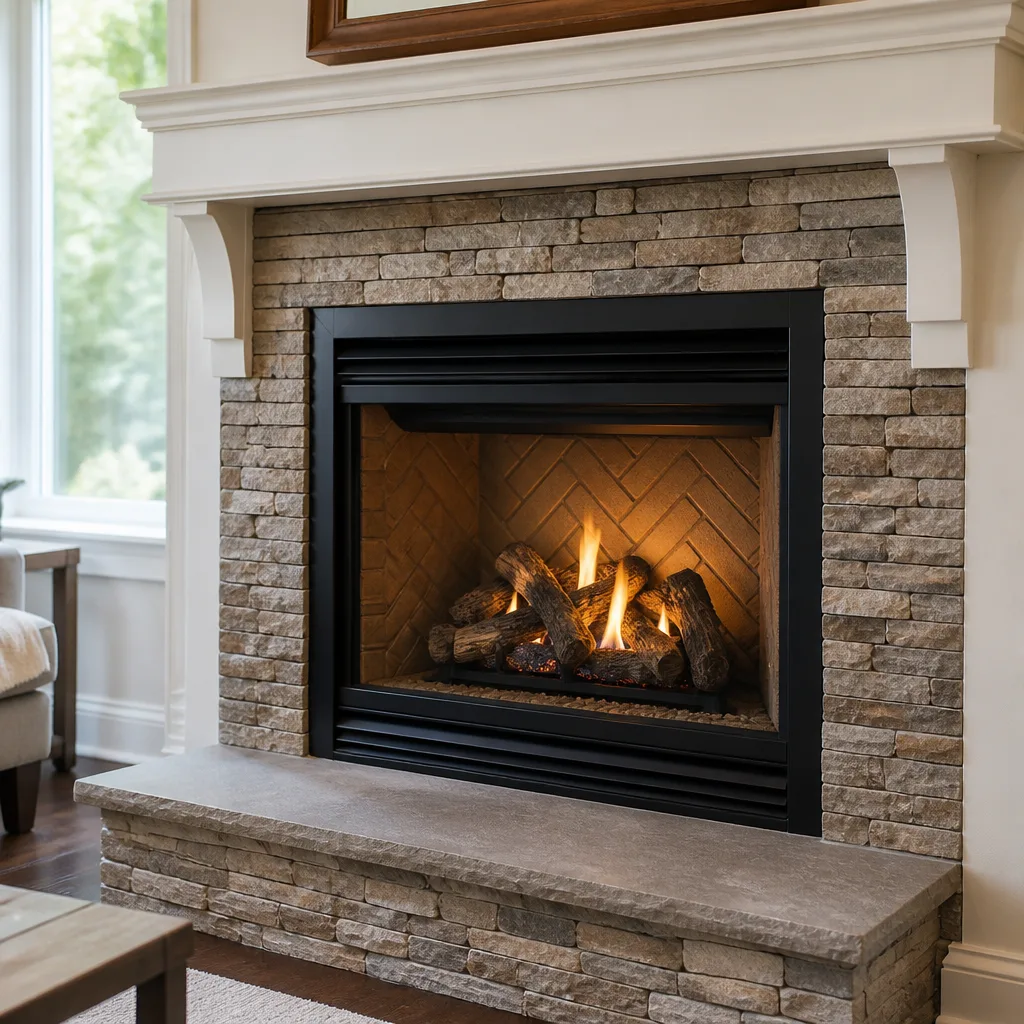 Gas fireplace service
Level 1 sweep and inspection to the NFPA 211 annual standard - flue, crown, cap, and flashing checked and photographed
Chimney sweep logs do not sweep chimneys. They loosen some creosote - which then falls where a brush and vacuum still have to collect it.
Famco Chimney Cap Installation: The Queens Owner’s Guide
Alcott Chimney Queens stocks and installs Famco chimney caps throughout Queens, with most installations running $285 – $540 for the cap and labor combined. We keep the common Famco sizes on our trucks, so when you call us about a rusted-out or storm-damaged cap, we can usually handle it in one visit. Ruben Castellano and our crew have been swapping Famco caps on Queens rooftops long enough to know exactly what the salt air off Jamaica Bay and the nor’easters do to galvanized steel over time, and we’ll give you a straight read on whether your cap actually needs replacing or just resecuring.
Most Queens homeowners discover their Famco cap has failed one of three ways: a visible rust hole from the sidewalk, a damp smell near the fireplace after heavy rain, or a bird that found its way into the flue and got trapped. None of those are subtle. The good news is that a chimney cap is one of the least expensive parts of the chimney system to replace-and one of the most important for keeping water, animals, and debris out.
Key Takeaways
- Typical Famco chimney cap installation in Queens runs $285 – $540, parts and labor included, with a written price before we start.
- We stock common Famco sizes on the truck; specialty sizes usually arrive in 2 – 3 business days.
- Famco caps are galvanized steel with optional stainless upgrades-Queens coastal air cuts galvanized lifespan roughly in half.
- Our installation includes a 365-Day Done Right Promise: if the cap shifts, leaks, or loosens within a year, the follow-up visit is free.
Styles & brands we work with
Which Famco Models This Applies To
Famco makes three chimney cap lines that we see most often here in Queens: the CC series (standard single-flue caps), the MC series (multi-flue caps for wider crown coverage), and the LC series (leg-mount caps designed for oval or rectangular flues). Each has its own sizing logic, and that’s where we see most DIY purchases go wrong.
The critical measurement is the outside flue tile dimension, not the inside diameter. A Famco cap sized off the inside opening will be too small, and it’ll wobble in the first real wind. We measure the flue tile at the crown, top edge to top edge, in both directions. The cap’s base needs to sit over the tile with enough skirt to shed water without blocking draft.
One compatibility gotcha we hit regularly: Famco caps are built for standard rectangular flue tiles (8×8, 8×12, 8×13, 12×12, 13×13). Older Queens row houses, especially in Astoria and Long Island City, sometimes have odd-size or handmade flue tiles that nothing stock fits. When that happens, we order a custom-dimension Famco cap or use a leg-mount adapter. Don’t settle for a cap that’s “close enough” – a loose cap is a future liability.
As for OEM versus aftermarket: Famco is a legitimate trade brand, and we install their caps because the gauge of steel and the quality of the welds are consistent. We’re an independent Queens chimney service, not a Famco dealer, but we specify their caps alongside DuraFlex liners, HeatShield resurfacing, and Gelco products because they hold up. A no-name cap from a hardware store might save $30 up front and rust through in two winters. We won’t install one, and we’ll tell you why if you already bought one.
Signs Your Famco Chimney Cap Installation Is Failing
- Visible rust streaks or a rusted-through corner. Galvanized steel oxidizes from the edges first. Once the zinc layer is spent, the base steel goes fast. In Queens, where we get rain, snow, and salt-laced humidity off the water, a Famco cap that looks rusty at year seven is probably done at year nine.
- Water or damp smells in the firebox after rain. A cap with a rust hole lets rain run straight down the flue. Water in the firebox a day or two after a storm is the classic tell. Some of that water lands on the smoke shelf and evaporates, which is why the smell comes and goes.
- The cap is loose or tilted. We see this after big wind events, especially with the old-style slip-in Famco caps that relied on set screws. The set screws back out over freeze-thaw cycles, and the cap starts canting. A tilted cap lets rain blow in sideways and is one strong gust away from becoming a projectile.
- Birds, squirrels, or raccoon activity in the flue. A damaged cap mesh is an open door for animals. We have removed nests, dead birds, and one very angry squirrel from Queens flues. The mesh on Famco caps is stainless on some models and galvanized on others – galvanized mesh fails first, and animals exploit the gap.
- You can hear wind noise or drafting problems in the firebox. A cap that’s shifted can create turbulence at the flue outlet, which messes with draft. If the fireplace used to draw fine and now it doesn’t, the cap’s position or blockage is worth checking before blaming the damper.
Replacement Cost & What’s Included
Here’s what we quote for Famco chimney cap installation in Queens, and we give every customer a written price before any work starts:
| Service | Typical Price in Queens |
|---|---|
| Famco standard single-flue cap (CC series), installed | $285 – $410 |
| Famco multi-flue cap (MC series), installed | $395 – $540 |
| Leg-mount Famco cap for odd-size flues (LC series), installed | $350 – $470 |
| Stainless steel upgrade (recommended near the water) | Add $60 – $110 |
| Crown inspection and minor resealing during the cap swap | Included |
The price spread reflects flue size, roof access difficulty, and whether we’re replacing mounting hardware that’s corroded beyond reuse. Here’s what that number always includes: the Famco cap itself, every fastener and bracket, a photo report of the crown and flue outlet, and a written guarantee on the installation.
Our 365-Day Done Right Promise applies to this work. If the cap loosens, shifts, or leaks within a year of installation, we come back and make it right at no charge. No fine print, no “that’s normal settling.” A correctly installed Famco cap should not move for years.
DIY or Call Us?
Here’s our honest take, the same read Ruben gives a homeowner who asks. You can safely check a few things from the ground with binoculars or a phone camera on zoom: look for obvious rust, tilt, or missing mesh. What you should not do is get a ladder and go up there unless you’re confident on a roof and have someone spotting the ladder. Queens roofs are steep, many are slate or tile, and a fall from even a two-story roofline changes your life. We say that not to scare you, but because we have seen the outcome of a bad decision.
The second place DIY goes wrong is fitting. A cap that’s loose on the flue tile is worse than no cap at all – it’s a wind sail attached to your chimney. Professional installation means the cap is sized to the actual flue measurement, torqued down properly, and checked for draft after it’s on. If you’ve already bought a Famco cap and you’re not sure it fits, call (518) 719-4643 and describe what you’ve got. Tell me what you’re seeing and I’ll tell you what it actually means.
See the difference
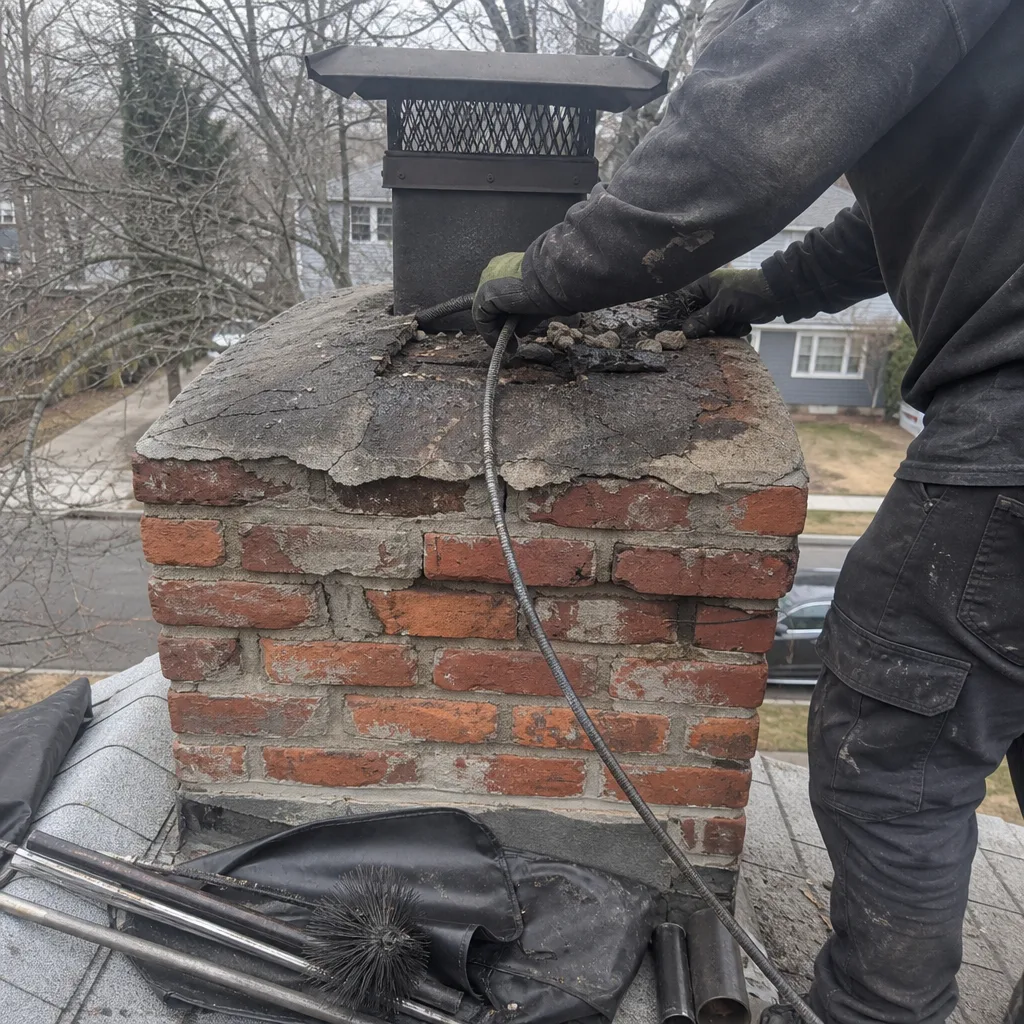 Before
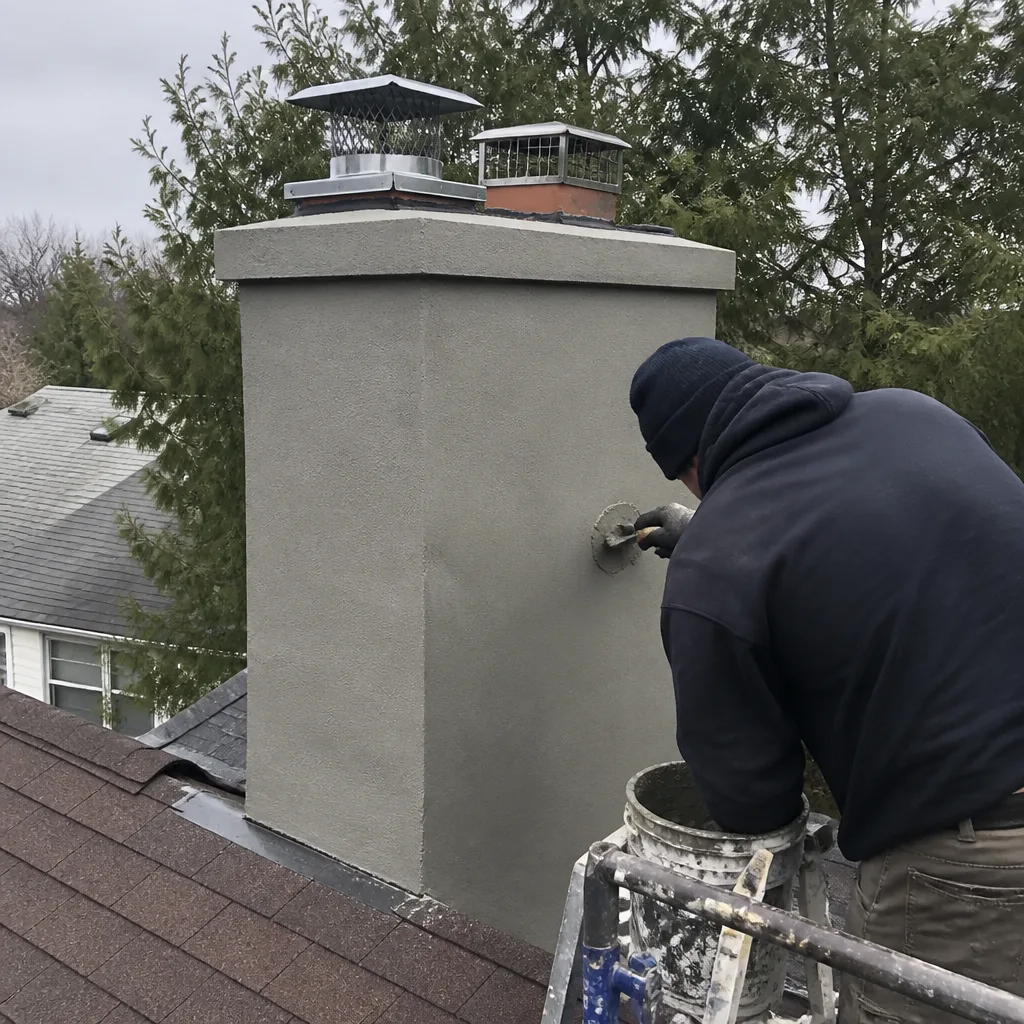 After
After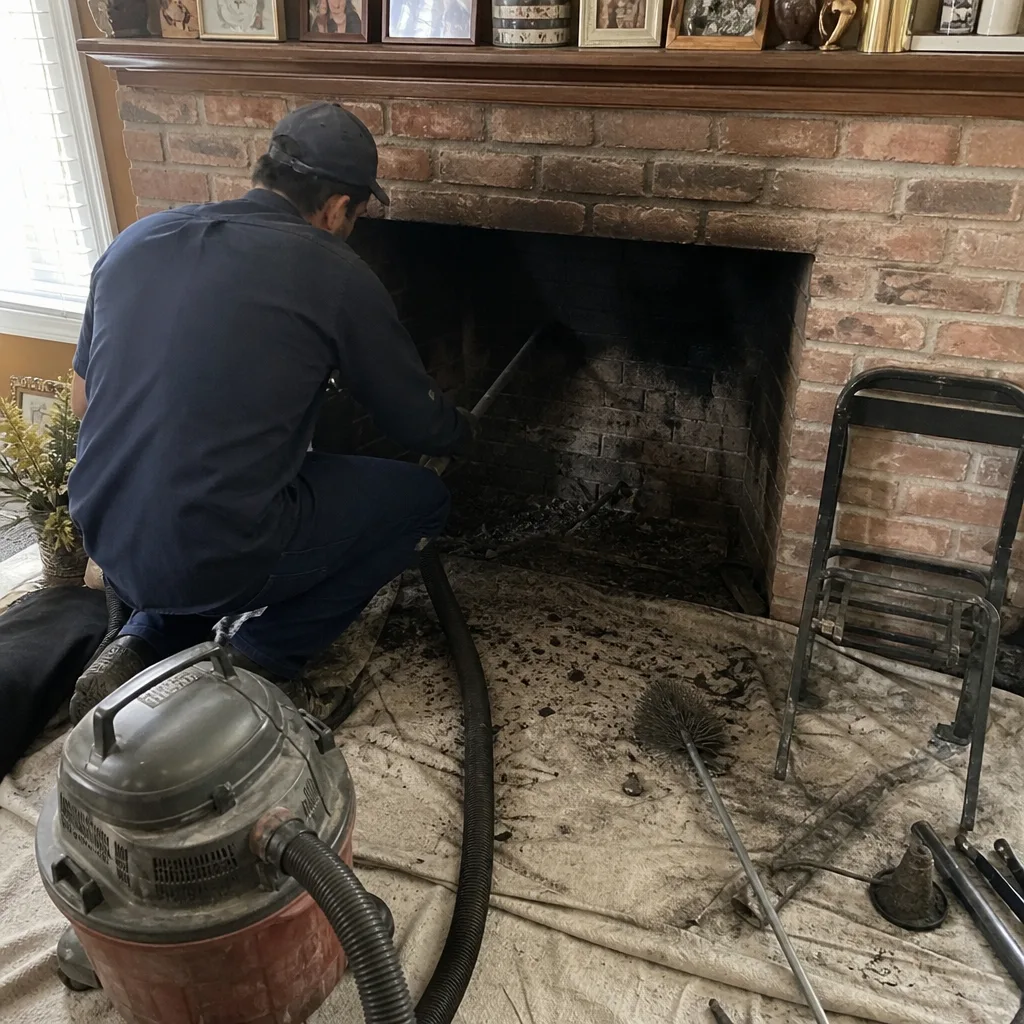 Before
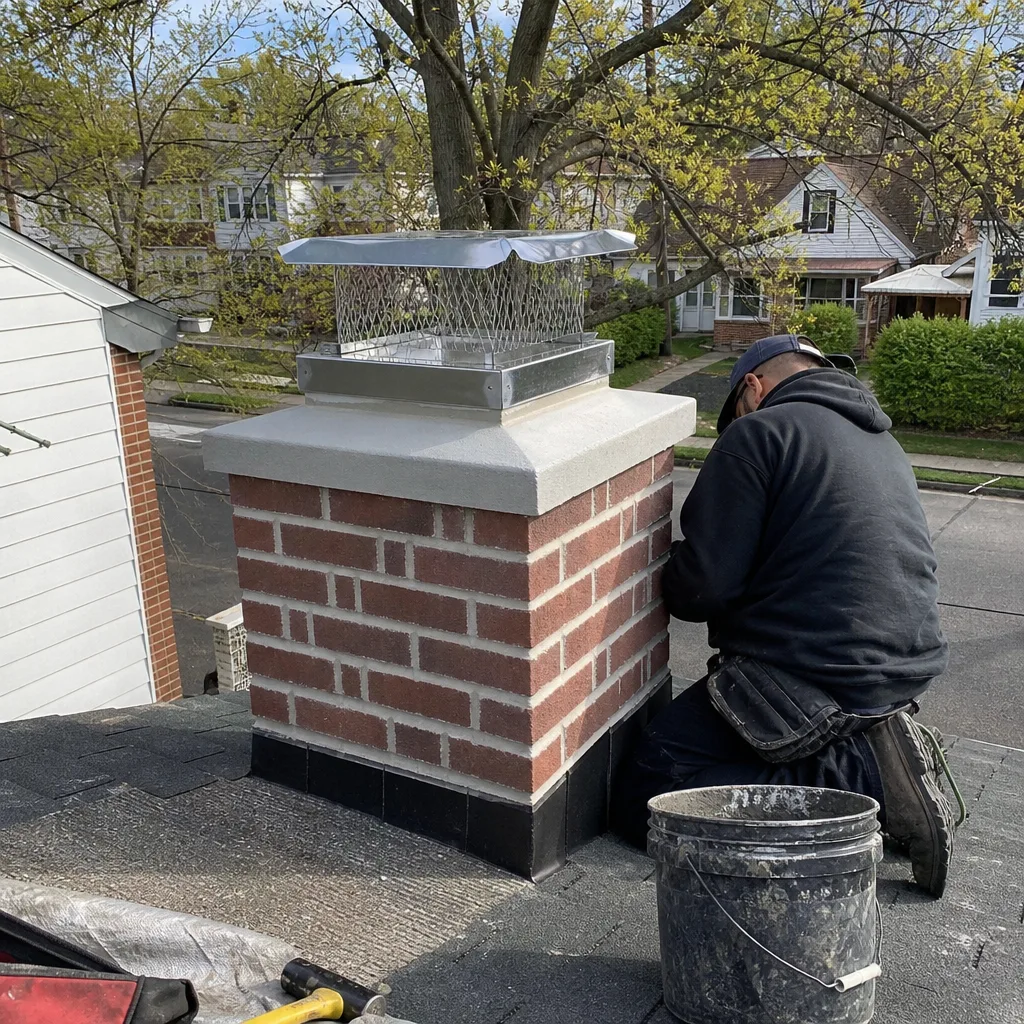 After
After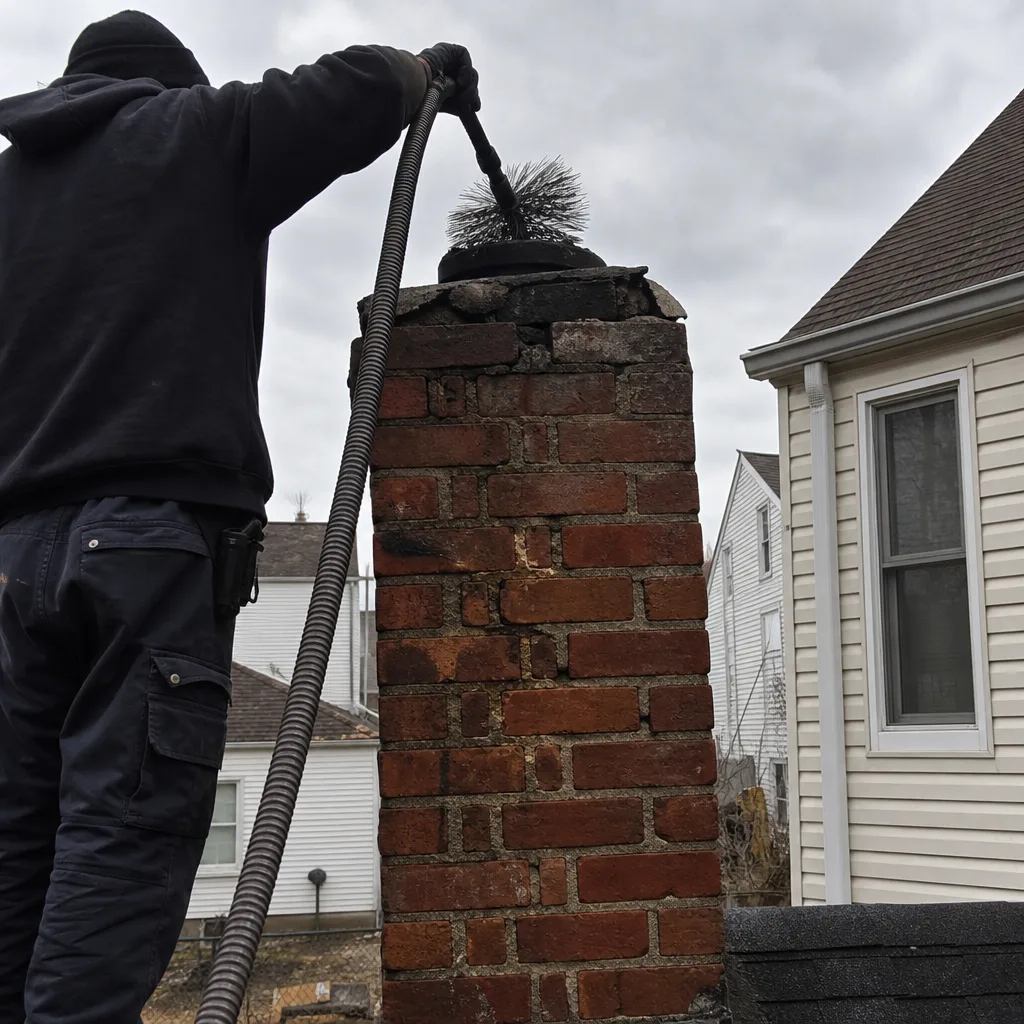 Before
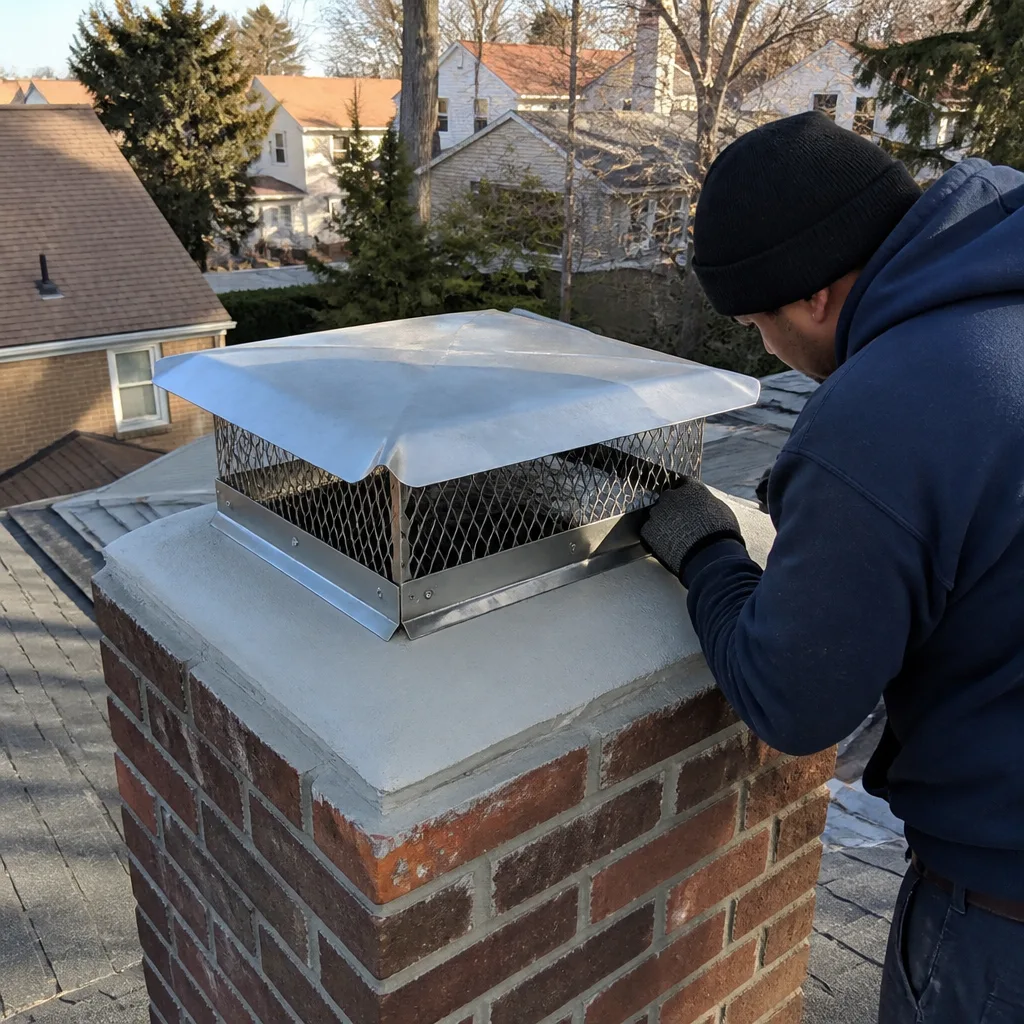 After
AfterHow much does Famco chimney cap installation cost in Queens?
Famco chimney cap installation in Queens typically costs $285 – $540 for the cap and labor together, with the final number depending on flue size, roof access, and whether you choose galvanized or stainless steel. We price in writing before any work begins, and the cost includes all mounting hardware, a crown inspection, and a one-year installation guarantee. Exact pricing is free over the phone at (518) 719-4643.
How long does a Famco chimney cap last in Queens weather?
A galvanized Famco cap in Queens typically lasts 8 – 12 years, while a stainless version can run 20 years or more. The difference is our exposure: winter freeze-thaw cycles stress the welds and mounting hardware, and salt-tinged air near the water cuts the galvanized zinc layer faster than inland locations. If you live within a mile of the bay in Broad Channel, Rockaway, or Whitestone, the stainless upgrade is worth it.
Can a rusty Famco cap be repaired instead of replaced?
Most of the time, no. By the time rust has gone through the galvanized layer and started eating the base steel, the cap is structurally on borrowed time. We can occasionally resecure a loose cap with better hardware or replace just the mesh on models where the mesh is a separate component, but a rusted-through cap body is a replacement job. We will tell you plainly if a repair buys you another season instead of a full swap, and we never recommend replacement when we can’t show you the reason in a photo.
How long does the cap installation take?
Most Famco cap installations in Queens are done in 60 – 90 minutes, including roof setup, removing the old cap, inspecting the flue outlet and crown, installing the new cap, and testing draft. Specialty sizes that we don’t stock take 2 – 3 business days to arrive, and then the job is the same short visit. We’ll schedule around your day, and the technician coming to your door is announced by name and photo before we arrive.
Written by Ruben Castellano, Owner, Alcott Chimney Queens at Alcott Chimney Queens, serving Queens and nearby areas.